Manage all aspects of your non profit
After Astral has been setup in your organization, you may login using the URL provided to you by the person who set it up. As soon as you access the URL in your browser, you will see the login screen. After you enter your credendials, you will be taken to the Admin dashboard, regardless of your account type.
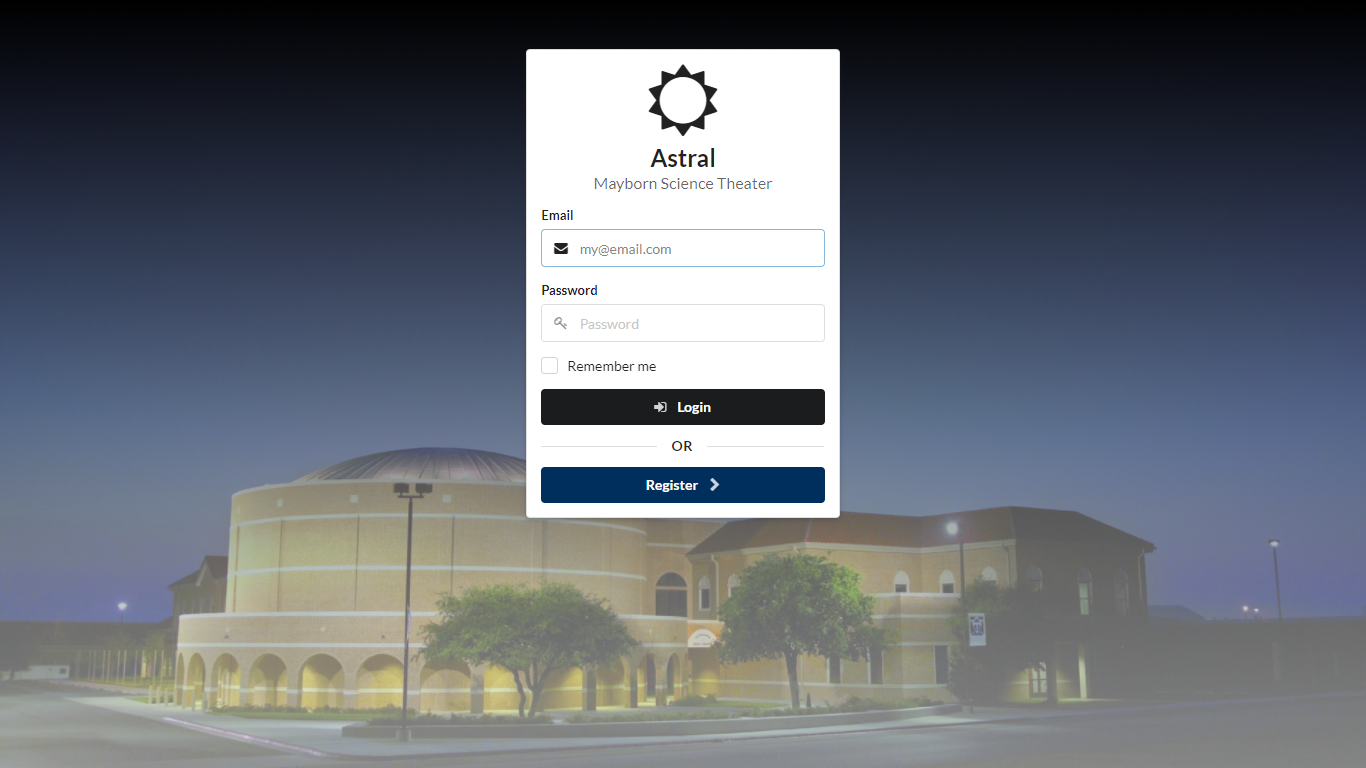
If you don’t have an account, you should create one by clicking in Register. Fill out and submit the form and you should be good to go.
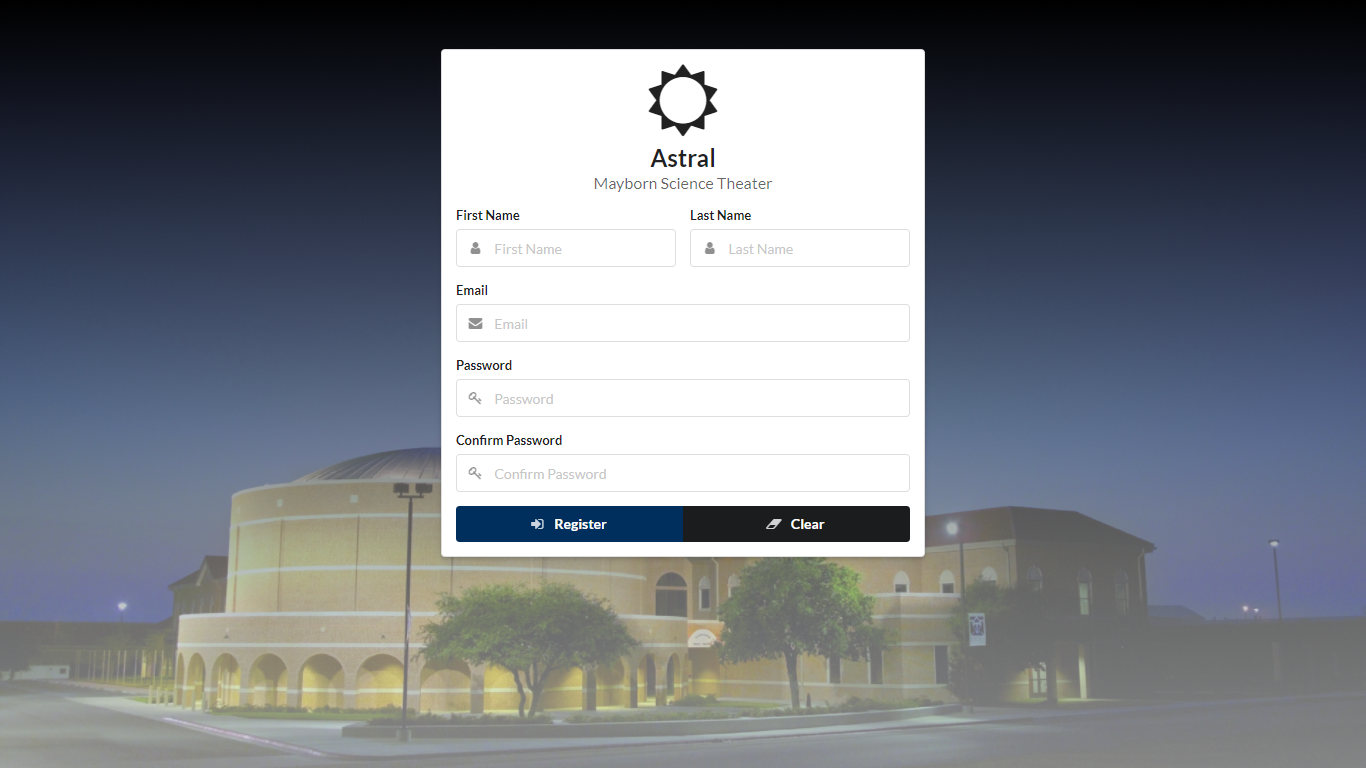
After you create and account, use your credentials to log in.
The Dashboard is were you will have an overview of your organization. There is plenty of information there and it should be pretty self explanatory.

The Top Menu is a global menu at the top of very screen in Admin. Use it to see where you are, as the menu shows the portion of Admin you are currently in. It also has a button to access Cashier at any moment, which will open it in a new browser tab.
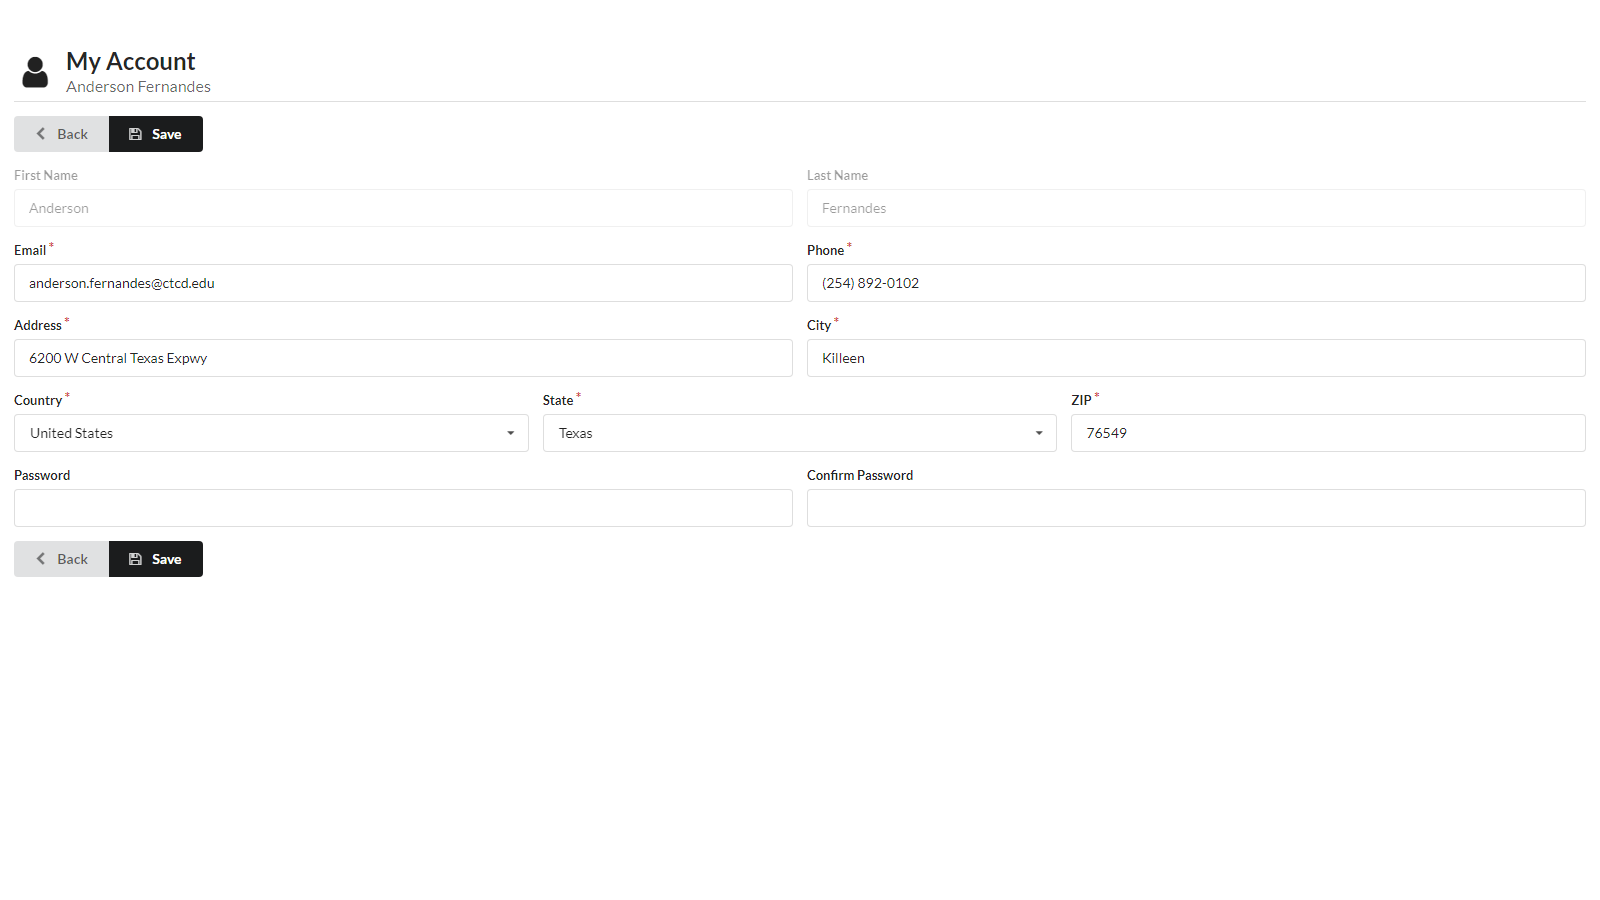
If you click in your name, you will be given access to a screen that will allow you to change your account information such as name and password.
This is where you go to change your account information. If you don’t type anything in the password fields, your password won’t change. Click save if changes have been made or click back to return.
Clicking in the button to access the Sidebar. This button will be called the Sidebar Button from now on and the menu that comes when you click on it will be called the Sidebar.
Each sidebar option is explained below.
Displays all your sales (and sales only) in a calendar format. If you have just an event with no sales under it, the event itself will not be shown here. You can go to Events to see them.
Calendar automatically fetches new sales and updates, which means that if somebody else adds a sale elsewhere, this sale will appear or be updated almost real time on users that have Calendar open. There may be a delay of 5 seconds max, plus network delay.
At the top of Calendar you will have buttons that will assist you in creating a new sale. Depending on what you have on the database, you may be able to just create and event and then create a sale and you will have a new item on Calendar.
If there are multiple shows under one timeslot, the events are going to be split. You may click in one event to access its data and edit it from there if you need to. For more information on how to Edit Events, please access the Events portion of Admin’s docs.
You may also change Calendar’s view using the second line of buttons (the grey ones). As of release 1.0-alpha1, the views available are Single Day View, Week View (the default view) and Month View.
You may use Single Day View to see all the Sales for a particular day.
Week View displays all the events in a particular week.
Month View displays all the events in a particular month.
You may click on Today to see what events you have today.
You can check different timeframes by clicking in the arrows right below the Create Event button, at the top left corner.
Manage all shows in your non-profit. If you are running, for example, a Planetarium, you have a few shows/movies/documentaries in your catalog and here is where you would add them.
The shows are displayed in groups of 10, in the order in which they were added, descending. That means, shows recently added come first.
You may click in a show at any time to see details on it. Clicking on the three dots by each of the shows will show you a menu where you can click on View or Edit.
At the top of the screen, right below the Menu, you will see the Add Show button. That’s where you go to add a new show.
In order to add a show, ou will need the following data:
Show Name is a required field. Enter the show name. Most specials characters are allowed.
Show Type is a required field. Shows can have different types. For example, it may be a full dome Planetarium show, or a Laser Light show. Those are custom types that can be added in Settings Show Types. Read Adding Show Types for more information.
Duration is a required field. Put the show duration in minutes. If the show is more than an hour long, put the minutes anyways. We recommend rounding show durations up to the nearest integer.
Cover is not a required field and it takes a URL, which means, a link to an image file somewhere on the web or your intranet. The link must end with png or jpg. If no cover is entered, a placeholder image will be the cover until you set one.
Description is a required field. Use this field to describe the show. Astral allows you to format your description using HTML and Markdown markup languages. You can have, for example, bold text, paragraphs, bulleted lists, ordered lists, etc.
This is where you will manage your events. You can create, view, edit or delete events, depending on your access control rules.
Events are listed in a List View. You may change the timeframe by clicking in the buttons in the top right, which are very similar to what you saw in Calendar, except that in here they will always be a list.
The arrow buttons and Today button work the same way they work in Calendar.
You can create new events from two screens: Calendar and Events. Both views have a Create Event button, which will take you to the same screen.
Before you create an Event, make sure you have added the show for that event beforehand. Please read Adding a Show for more information.
Also, you need to have Event Types. Please read Adding Event Types for more information.
The Seats field read automatically from Settings, but the value you set here overrides it.
The default start and end date and times for events by default will be one hour apart when you set and event’s start time. You may have a shorter or longer end date and time. The length of your event has nothing to do with your show event’s length.
In Memo, put important notes about the Event. As of release 1.0-alpha1, memos are on a per Event basis rather than by User basis, which means that you can only add only one Memo per Event. You may put your name and/or initials and date after each line people know who and when they were written.
Clicking in any Event in the list will take you to that Event’s information page. In that page, you can see a lot of information on events, such as who created them and when, what show is the event having, the last time the event was updated and Memo.
Right above that information there are a couple of buttons with actions.
The Back button takes you back to Events.
The Edit This Event button takes you to a page very similar to Create an Event, except that this time it will have all the data you entered when you created the Event. Please read Editing an Event for more information.
The Create Another Event button takes you to Create an Event.
Depending on your access control rules, you may see the Delete Event button. Make sure this isn’t a past Event as we do not recommend Delete Events that have sales attached to them.
The Edit Event page allows you to change anything on a particular Event. Make sure that you really want to do this, as there may be sales attached to this Event.
As far as the information available, it is very similar to the one in Create an Event. Please read it if you need to know more.
As of version 1.0-alpha1, the search and filtering options do not work. They are planning to be implemented in a future release.
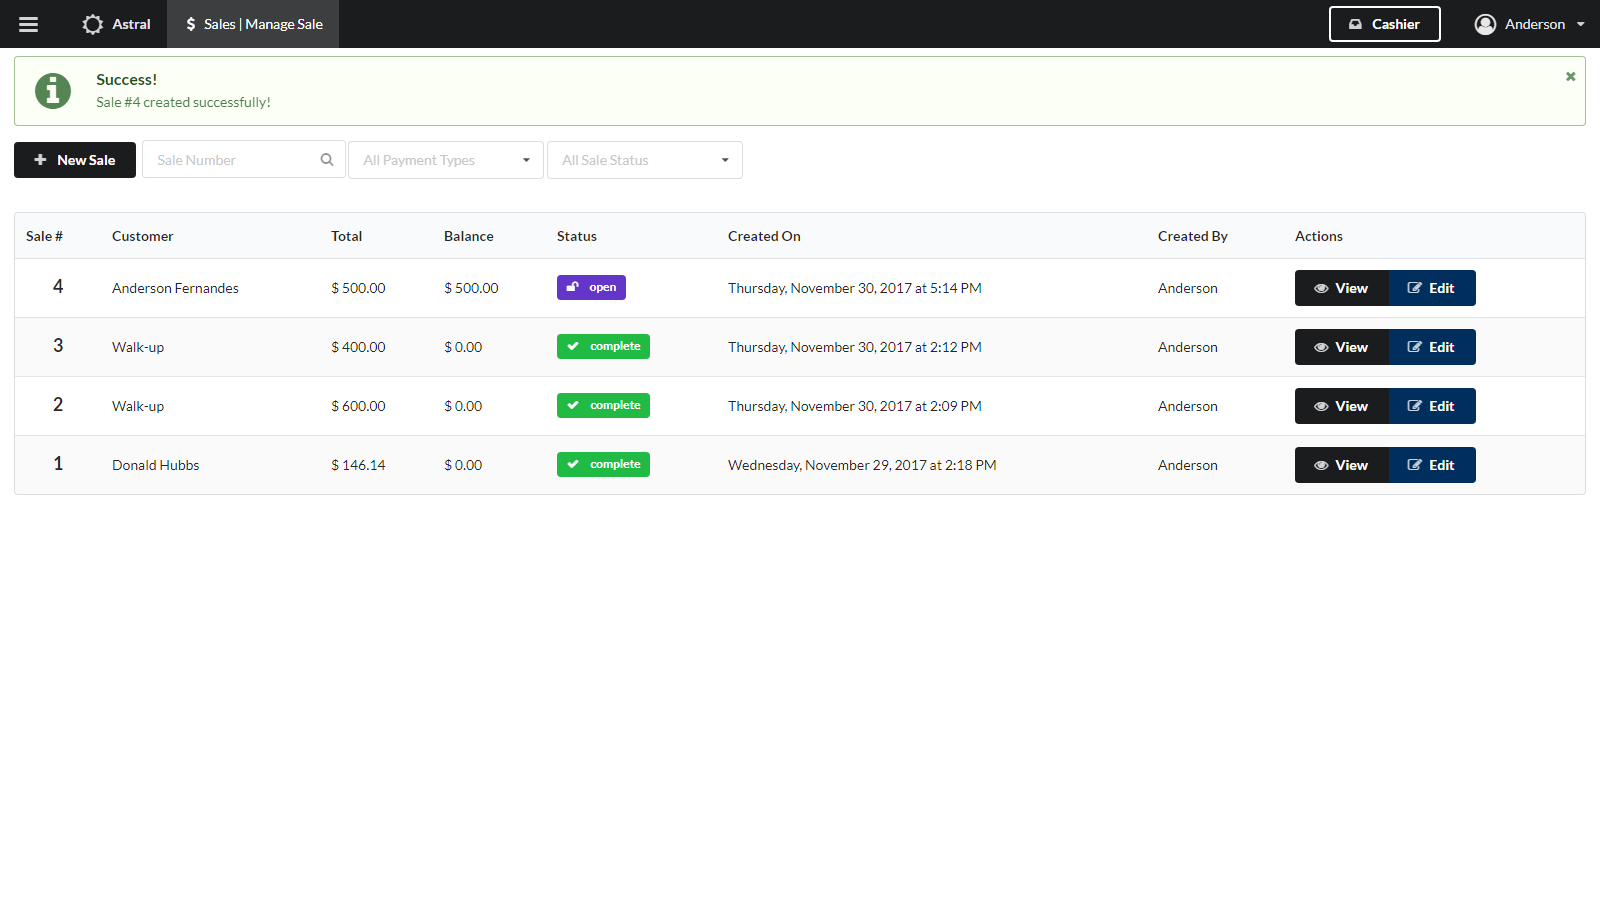
This is most likely the screen your organization will be using the most. This is where you will manage Sales.
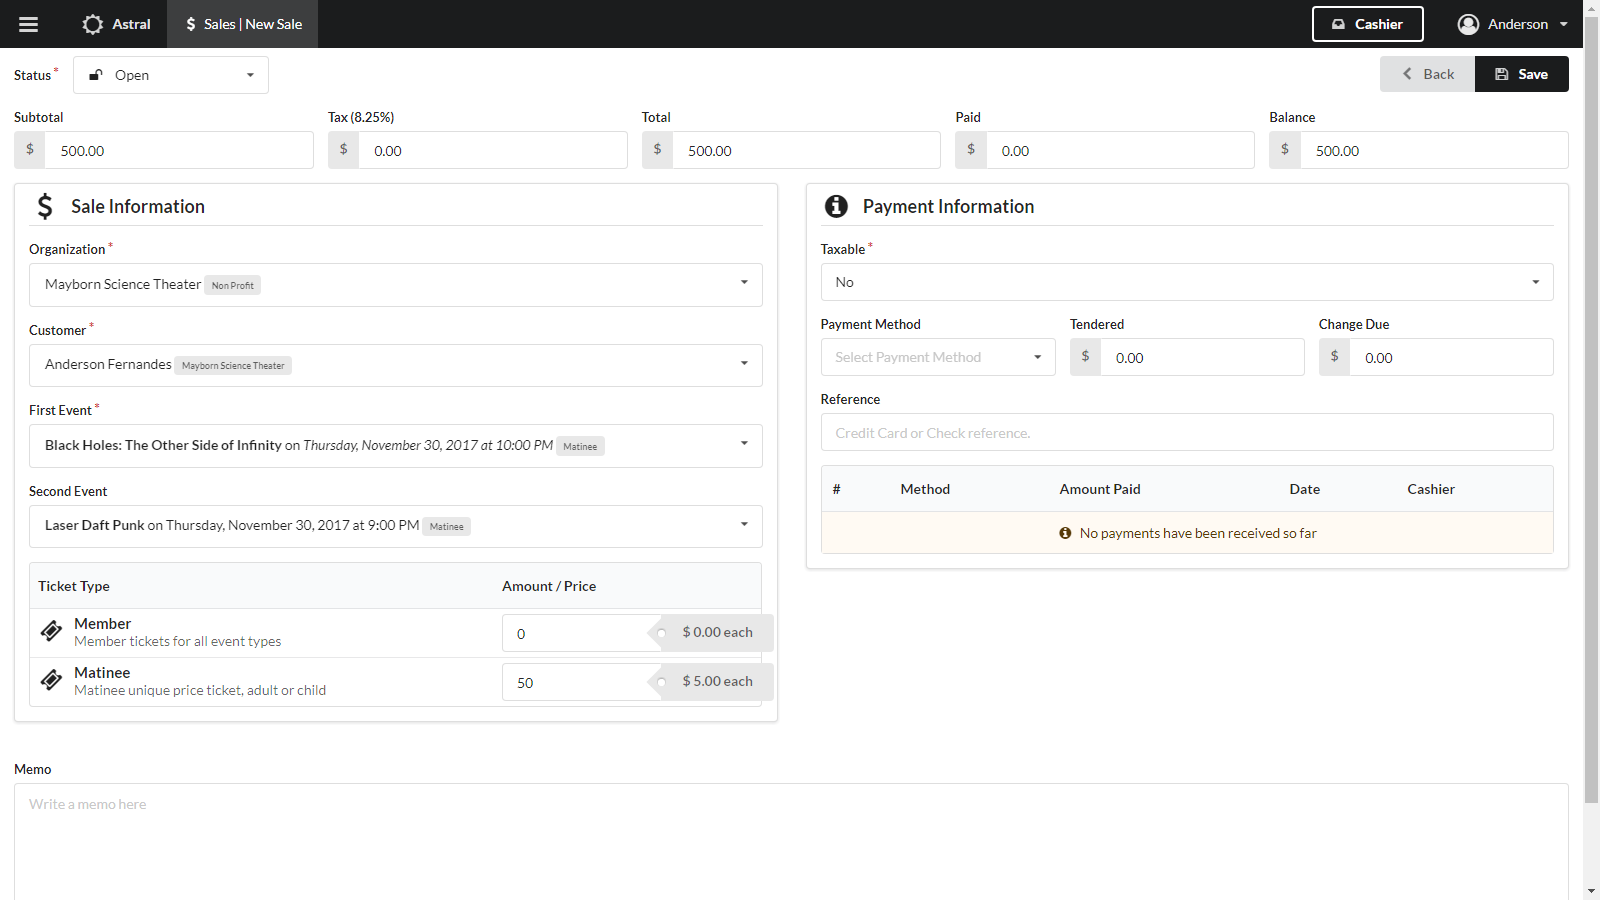
To create a new Sale, click in the New Sale button, select what kind of event you are creating the sale for (remember to have event types set up in settings), and fill out the form. You may add a payment if one is being made at the moment the sale is being created, or you can add payments later. Astral does support multiple payments in this screen, which means that your are able to take a partial payment such as a deposit or a down payment. Don’t forget to mark the Sale as completed if a payment has been made in full.
Find the Sale that is going to be paid for, click the Edit button that corresponds to it and fill out the Payment part of the form. This screen does support deposits, down payments and multiple payments. Enter the amount, the method and a reference.
To edit a Sale, click in the Edit button that corresponds to the Sale you want to make changes to. Once you are on the Edit screen, you can change anything, except payments that have been made.
The Edit Sale screen is very similar to the Create Sale one.
As of version 1.0.0-alpha1, admin users can view/print cashier reports such as the Closeout and Payment Transaction Detail. All you have to do is click on the button that corresponds to the repor you are looking for, select the cashier and the date. The report then will open on a new tab.
The Members area of Admin will assist you in adding your non-profit’s members to the system so you can track and offer the benefits of a Membership.
Before using this feature, head to Settings and go to the Membership tab. Make sure you have all membership levels set up with their respective benefits and duration.
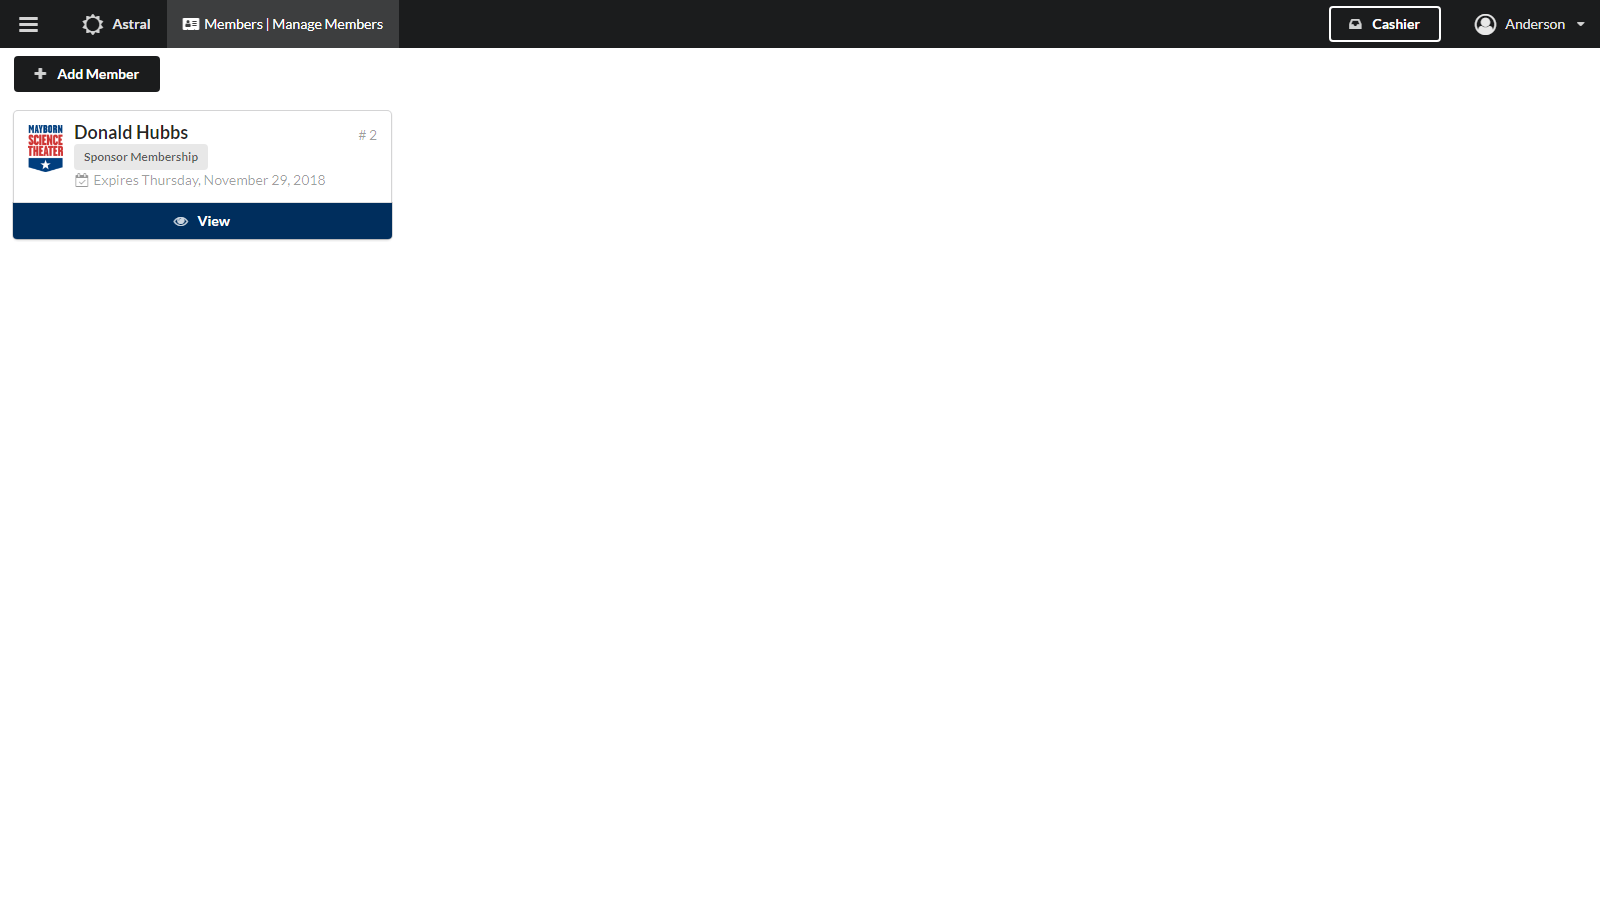
Click in the Menu icon and click in Members. Click on the Add Member icon and fill in all their information. Select the membership package and take their payment.

To see details on a particular member, click on the blue view button.
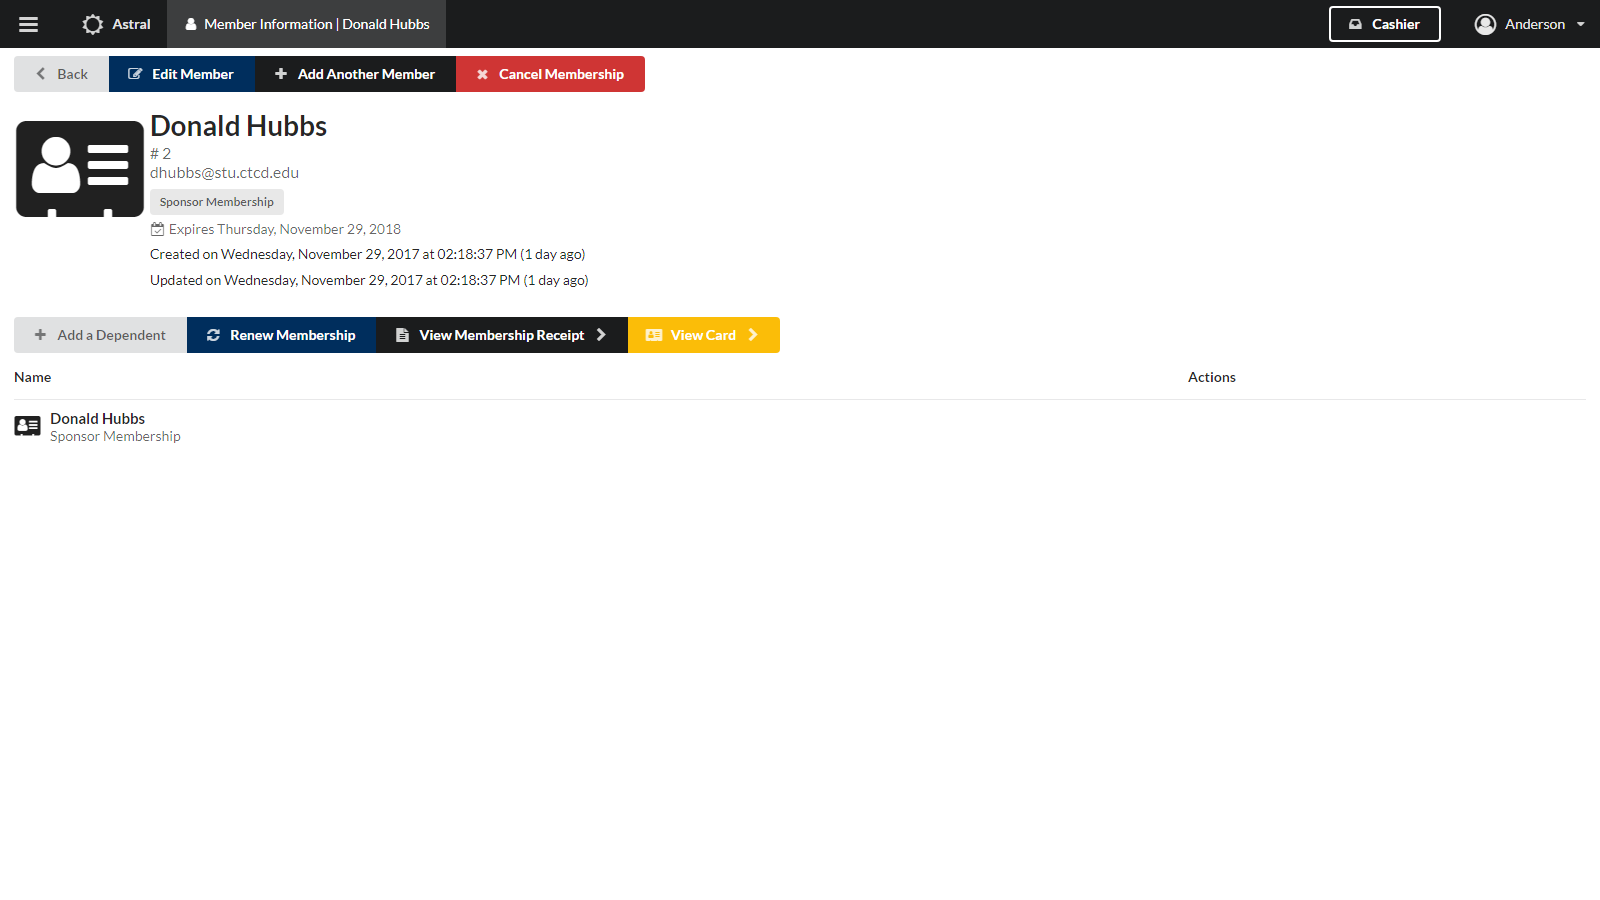
After adding someone as a member, you can view and print the membership receipt by clicking in the View Membership Receipt button. The receipt will be open in a new tab. The receipt will show all information relative to the membership such as cost, expiration date, etc. You can click in the blue button with a printer icon to print it or you can close return by clicking in the button with an “X” or closing the tab.
In the Member Information screen you can click in the yellow “View Card” button to see a member’s membership card. This may be your organization’s official membership card or just a temporary one.
This is where admins will manage user accounts. Admins can change the information of basically any user. The star besides a user name means that they are a staff member.
You may add a new user by clicking on the Add User button. Make sure you set a password.
Find the user you are looking for and click in the blue Edit button. Change whatever you need to change. If the password is not being changed, leave it blank.
This is where admins will add new organizations. It works very similarly to the Users portion of Astral.
This is where admins will set global values for the system.
In the General tab, admins will be able to set the name of the non-profit Astral serves and some other information on it, such as logo, cover picture, address and membership receipt text.
This is where you will set Organization types. The way you want to organize them is up to you. At the Mayborn Science Theater, we have an organization type for each independent school district.
The Tickets tab allows you to create Ticket Types for the system. You can allow tickets in more than one event type.
System wide Payment types are set up here. Astral does not process payments online. Your Non-profit must have a way to process payments. This is just a way to “tag” the payments under a payment type.
Event types are set here. Event types are a classification/tag for an event. Is it a matinee? A school group? A weekend show? Normally, event types have different ticket prices.
This is where you set roles and whether or not a role is a “staff” role.
This tab allows you to create membership types, set their prices and the duration of a membership.
This is basically a link to Cashier in a new tab.
The Help item takes you to this website where you will find the official documentation for Astral.